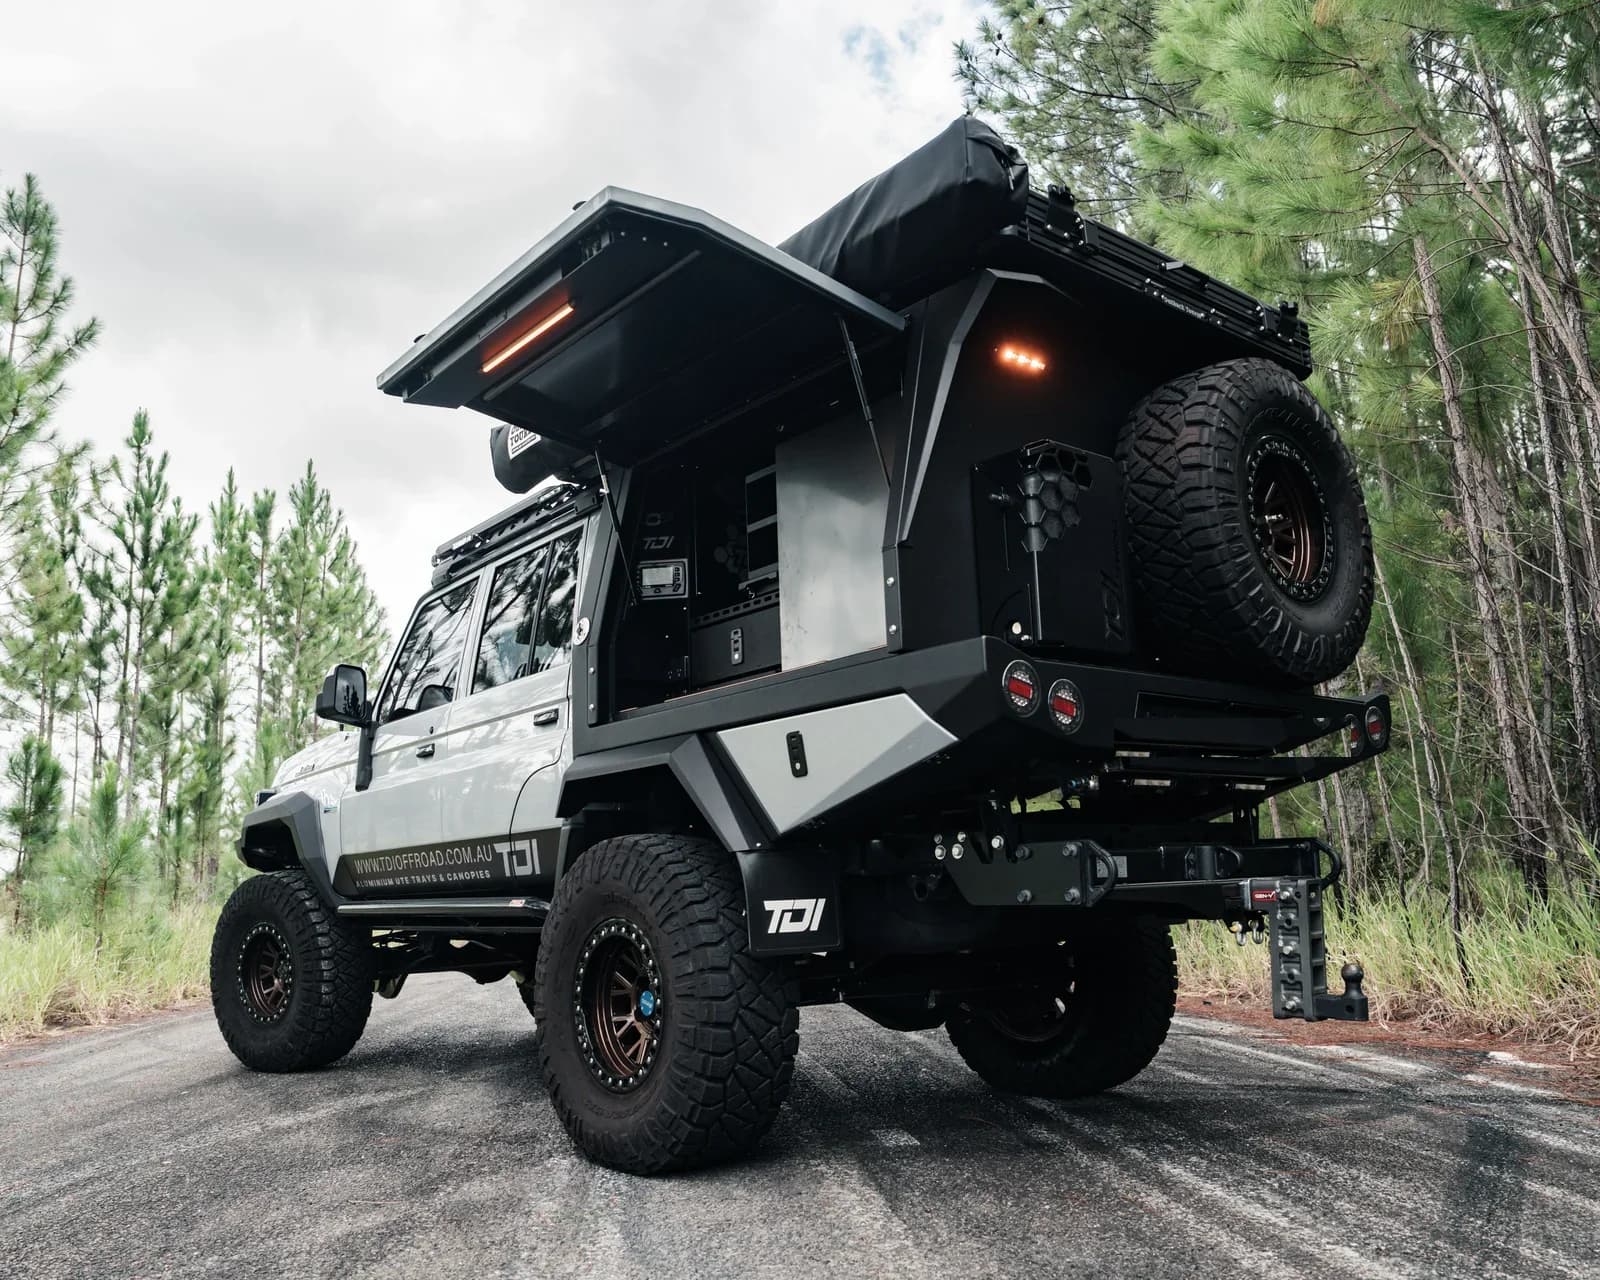
Planning a Touring Canopy Fit-Out: What Goes Where?
- Adventure Guide
- 8 min read
- 15 sections
A touring canopy can look simple from the outside, but the inside can make or break the way the setup works once you start travelling.
The best fit-out is not the one with the most drawers, switches or accessories.
It is the one that puts the things you use most where you can actually reach them, keeps the heavy gear where it makes sense and leaves enough flexibility for the trips you have not taken yet.
Quick Takeaway
Plan the canopy around the way you stop, cook, eat, charge, pack and recover the vehicle - not around how symmetrical the empty layout looks.
Start with the gear that genuinely needs to live inside. Then organise it by frequency of use, weight, access and the systems it connects to.
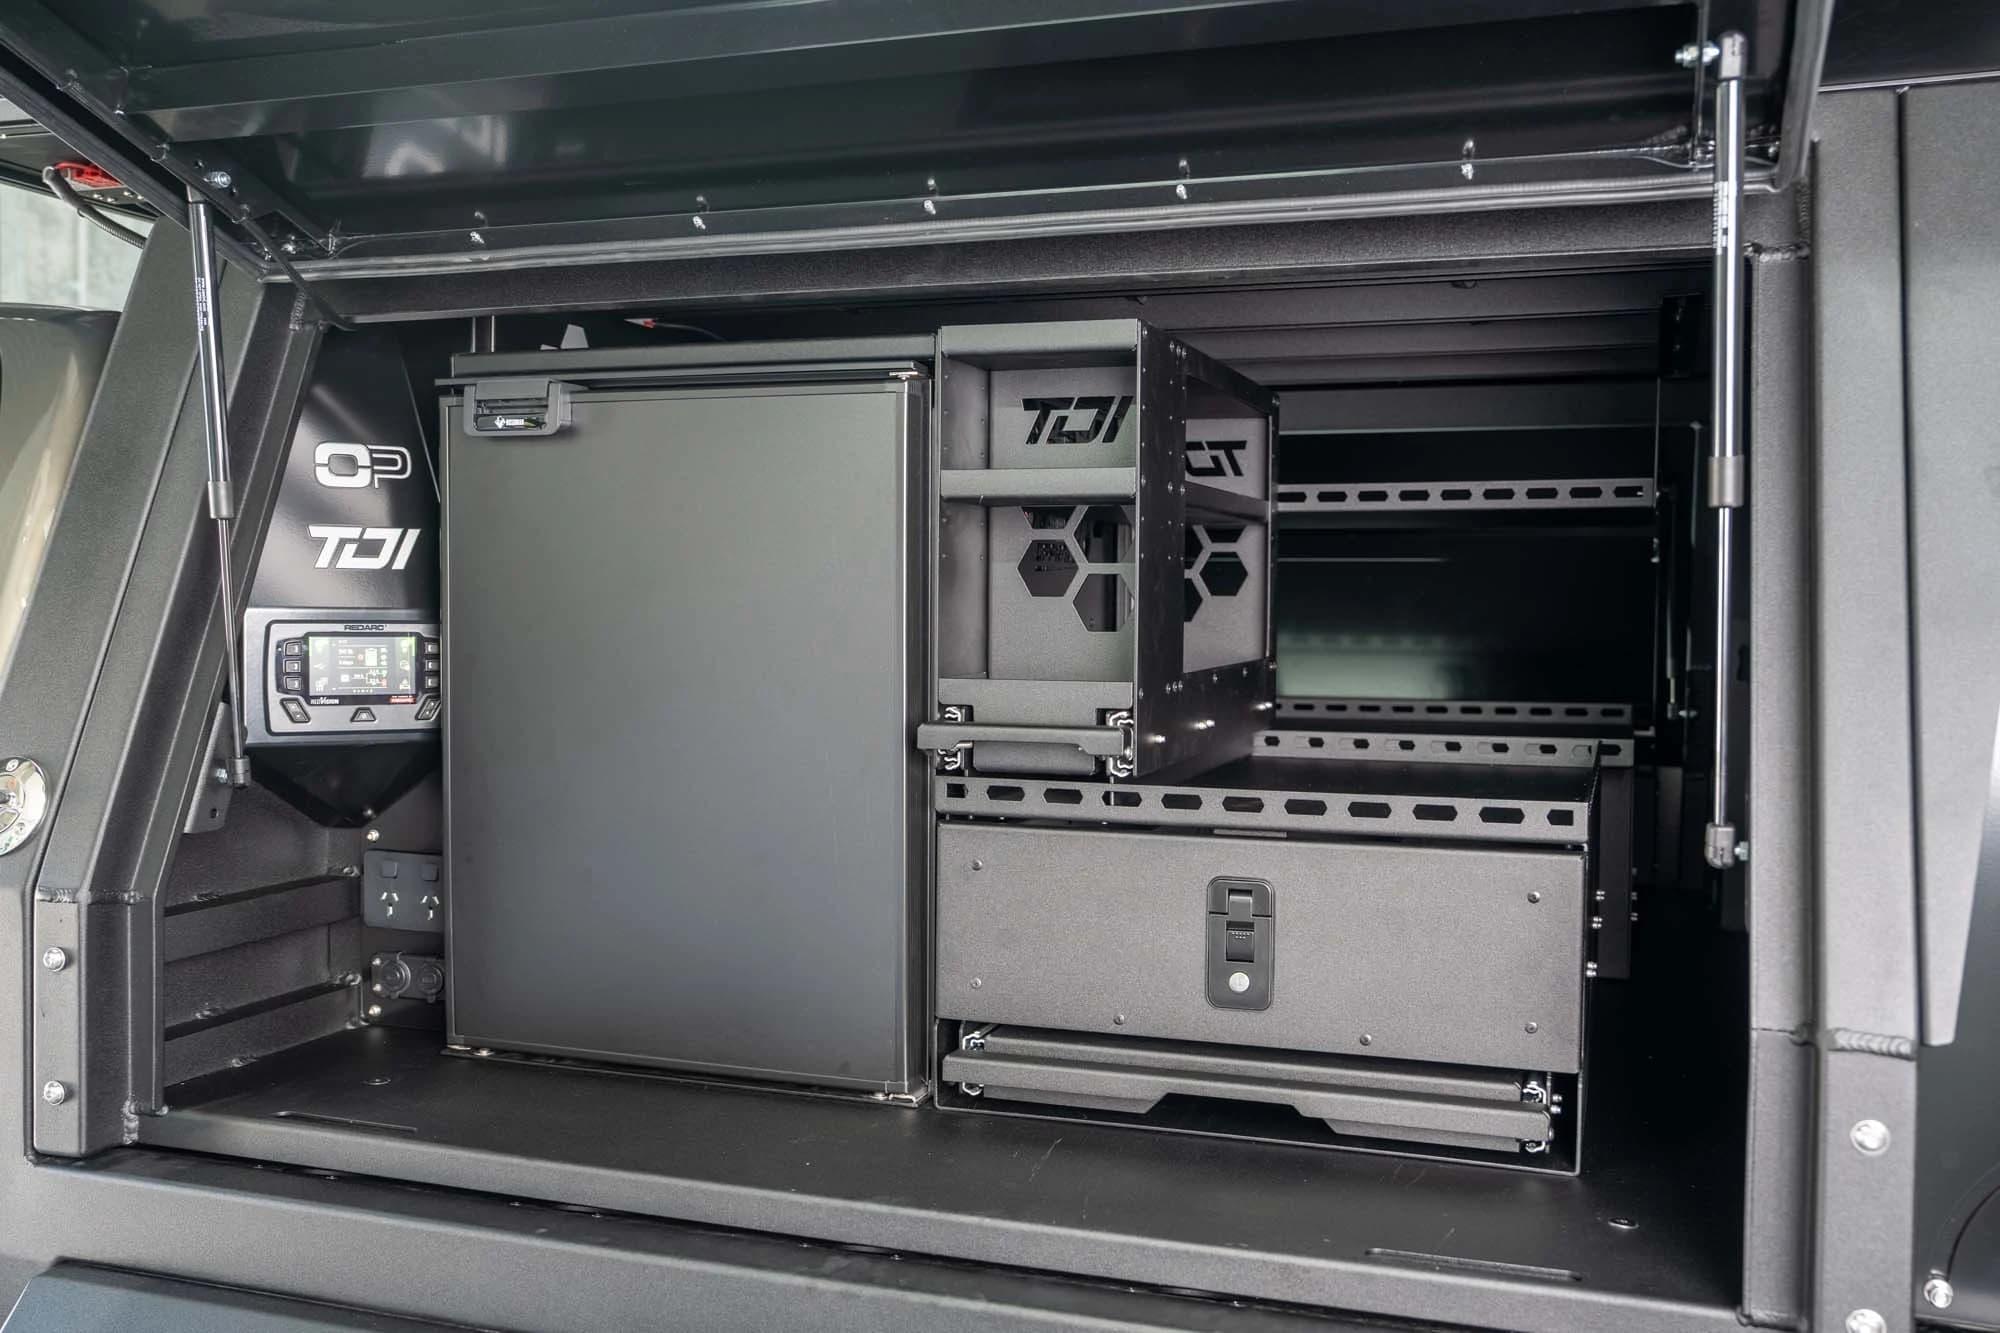
Fridge, power, water, cooking and storage work best when they are planned together.
And leave some empty space. A touring setup nearly always changes once you start using it.
Start With the Trips You Actually Take
Local Weekend Adventurer
Quick setup and pack-down may matter more than carrying every possible piece of equipment.
Easy fridge access, recovery gear, simple power, lighting and flexible storage for camping or fishing gear can be more useful than filling every compartment.
Family Getaway Explorer
Organisation starts to matter more when food, water, kids' gear, cooking equipment, lighting, charging and towing-related equipment all need a home.
Everyday items need to be accessible without unloading half the canopy.
Long-Term Traveller
The canopy can become part of the everyday living system.
Power, water, refrigeration, communications, tools, spares, recovery equipment and long-term storage all need to work together without making daily access frustrating.
Map the Fit-Out Before the Builder Starts
A simple layout plan can prevent major rework later.
Start by listing the equipment that needs to live in the canopy, then place it based on how often it is used, how heavy it is and what other systems it needs to connect to.
Map items such as:
- fridge or freezer
- battery system
- inverter
- DC-DC charger
- solar input
- switching and fuses
- water tank
- water pump
- cooking gear
- drawers and shelves
- recovery gear
- tools
- air compressor
- UHF and communications equipment
- camp lighting
- spares
- chairs and tables
- food storage
- personal or family gear
Even a rough sketch can identify conflicts before doors, shelves, battery compartments or plumbing locations become permanent.
Design Around Frequency of Use
One of the simplest ways to organise a canopy is to group equipment by how often you need it.
| Access Level | Typical Examples | Planning Principle |
|---|---|---|
| Used Every Stop | Fridge, water tap, camp lighting, frequently used storage | Accessible without moving other gear. |
| Used Every Day | Cooking equipment, charging points, food storage, basic tools | Easy access, even if slightly deeper in the layout. |
| Used Occasionally | Less-used gear, selected spares, seasonal items | Can live in drawers, upper shelving or rear compartments. |
| Emergency / Recovery Only | Recovery gear, selected tools and spares | Can use less convenient spaces if secure and still accessible when needed. |
This approach usually works better than trying to make every compartment the same size or every side of the canopy perfectly symmetrical.
Fridge Placement: One of the Most Important Decisions
The fridge is often one of the most frequently accessed items in the canopy, so its position deserves more thought than simply finding a space large enough to fit it.
Consider:
- fridge height
- door or lid opening clearance
- slide direction
- ventilation
- power connection
- whether the fridge is accessible with other doors open
- whether the bottom is easy to reach
- how groceries are loaded and unloaded
For family trips and long-term travel, easy everyday access can matter more than fitting the largest possible fridge.
Electrical and Battery Placement
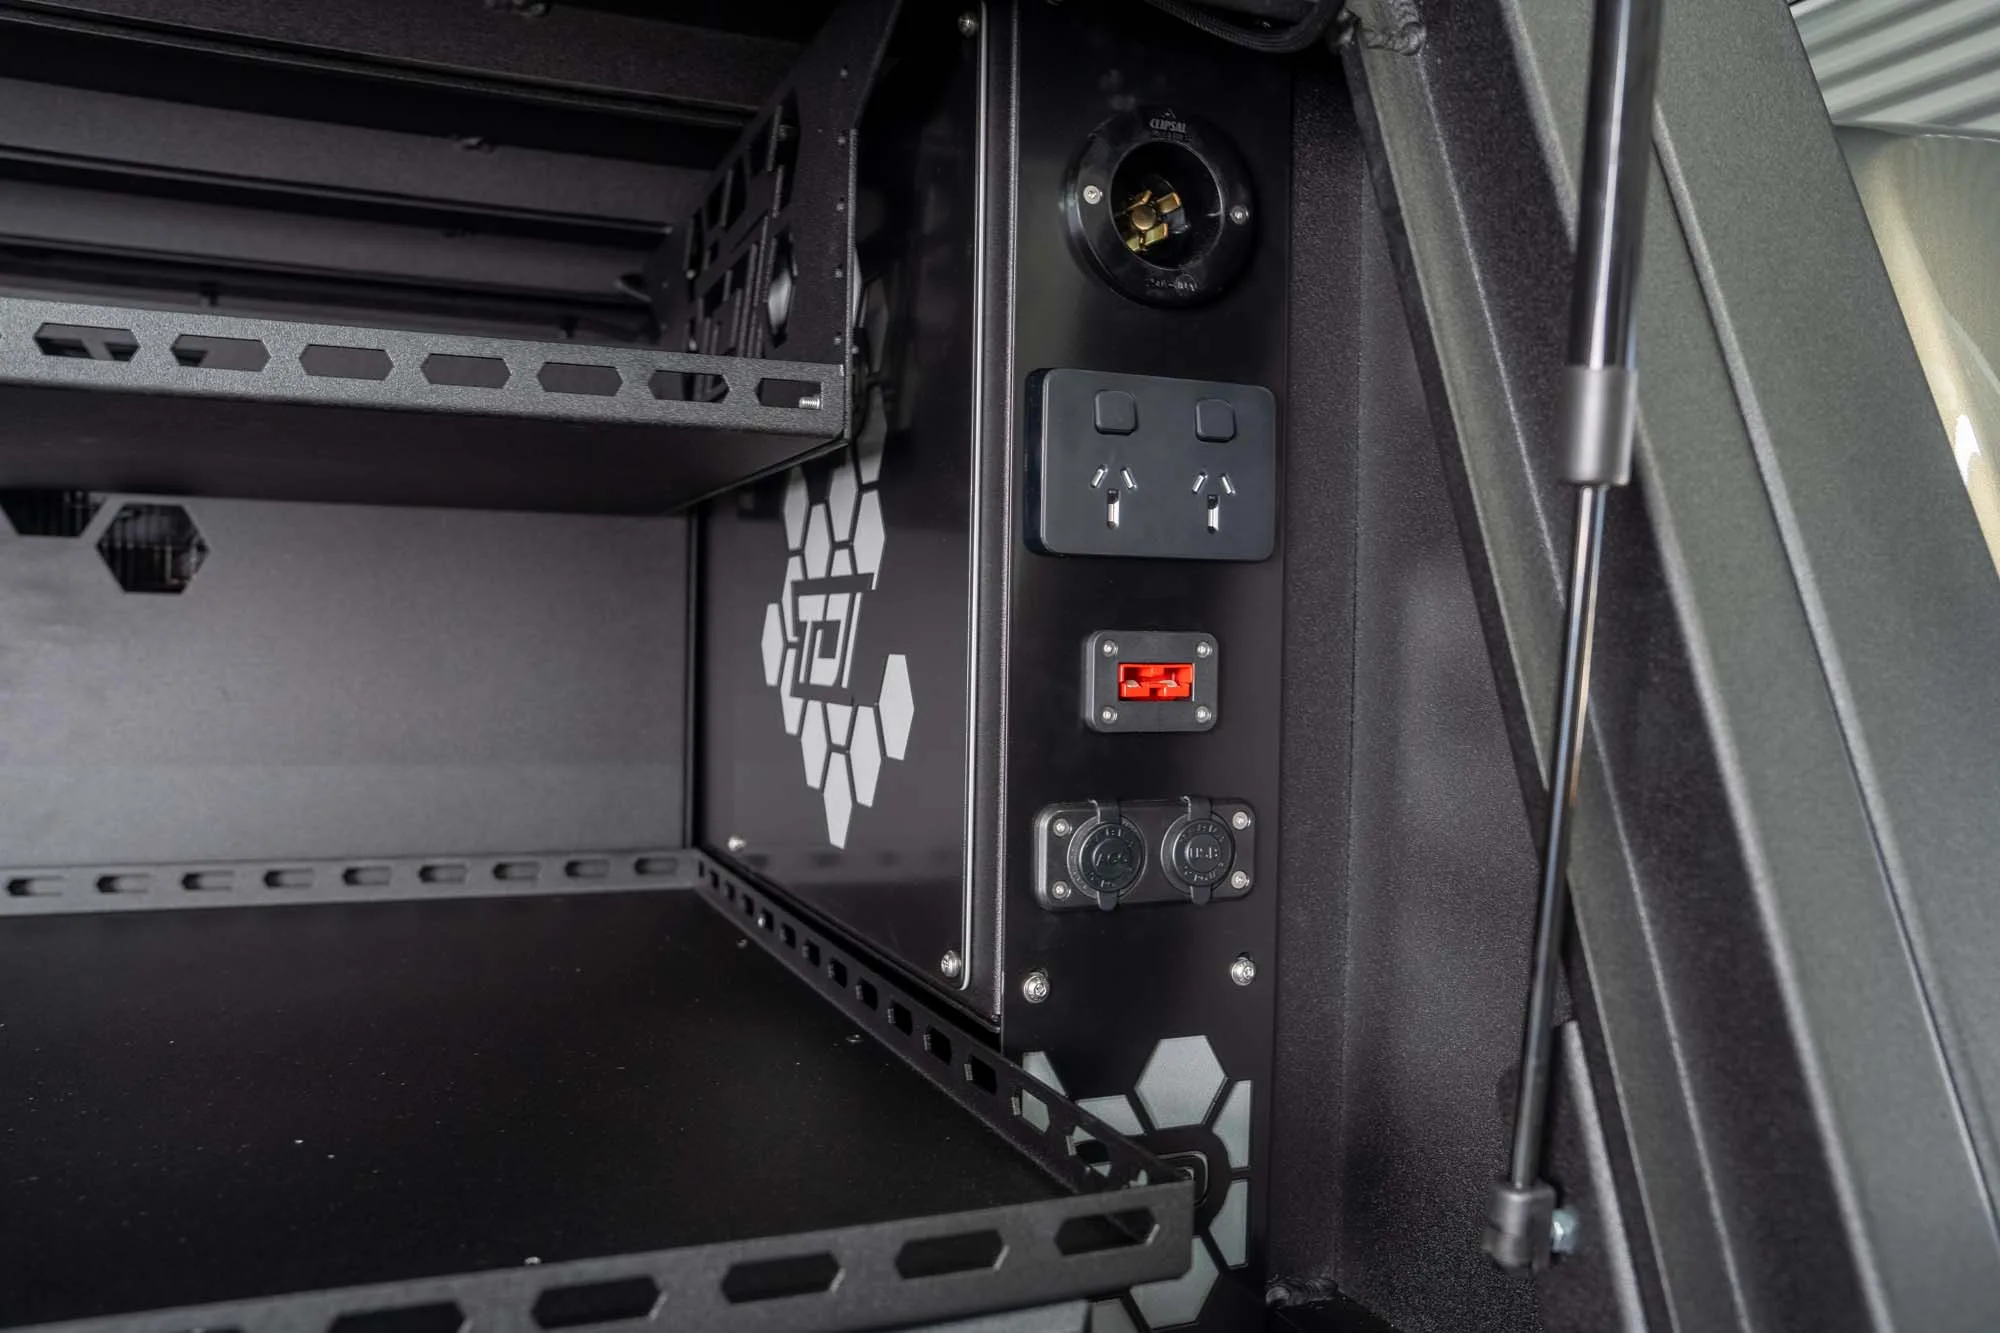
The battery system can affect weight distribution, ventilation, cable routing, service access and available storage.
Plan for:
- battery location
- DC-DC charging
- solar input
- inverter where required
- fuses and circuit protection
- switching
- monitoring
- fridge supply
- external charging points
- camp lighting
- future accessories
Leave enough access for maintenance and fault finding. A beautifully hidden electrical system can become frustrating if routine servicing requires dismantling half the canopy.
Water System Planning
Water adds both convenience and weight. The tank location can affect vehicle balance, storage layout and plumbing complexity.
Think about:
- tank capacity
- tank position
- fill point
- pump location
- hose routing
- tap location
- drainage
- service access
- whether water is needed on one or both sides of the canopy
Plan the system for the trips you actually take. More capacity can be useful for remote travel, but every litre carried adds weight to the vehicle.
Cooking and Camp Setup
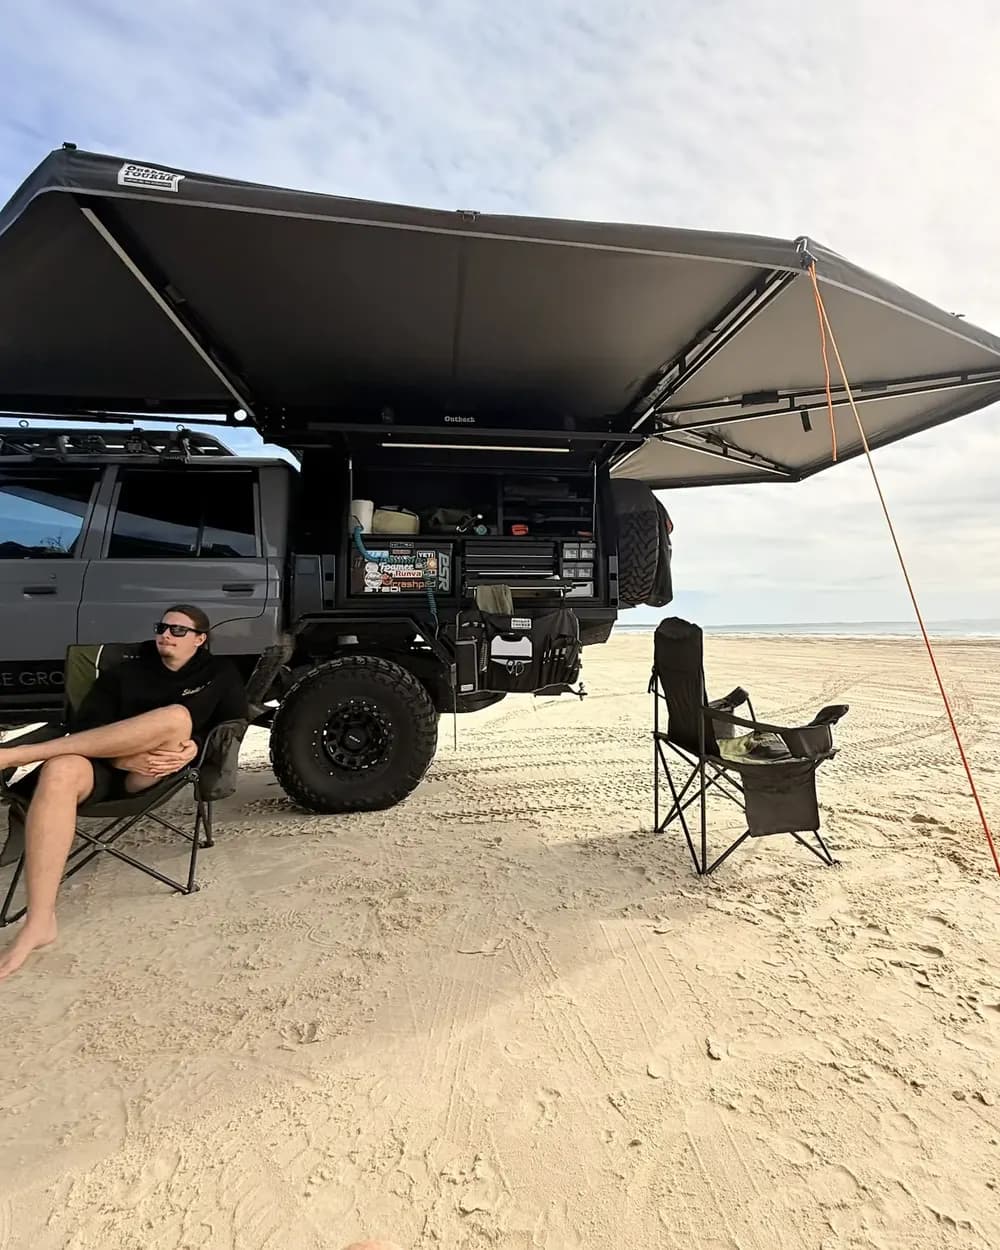
A touring canopy can make camp setup very quick when the cooking area is designed around the way you actually stop and travel.
Consider:
- which side of the vehicle is normally used at camp
- where the fridge opens
- where food is prepared
- where cooking equipment is stored
- lighting over the work area
- water access
- wind and weather exposure
- whether drawers or slides block one another
A simple setup that can be opened and used quickly often gets more use than a complex system that takes time to unpack.
Storage Without Overfilling the Canopy
Empty space can be useful.
It gives you somewhere for changing gear, groceries, firewood, wet equipment or the things you did not expect to carry.
Filling every section with permanent drawers and shelves can make the canopy look neat while reducing flexibility.
A balanced layout can include:
- dedicated everyday compartments
- secured heavy-item storage
- open flexible storage
- small-item organisation
- space for changing trip requirements
The aim is to make the canopy easier to live with, not to turn every unused centimetre into another permanent compartment.
Weight Distribution and Payload
The finished canopy weight matters, but so does where that weight sits.
Batteries, water, tools, spare parts and recovery equipment can all be heavy. Positioning them without considering the complete vehicle may affect axle loading and overall payload.
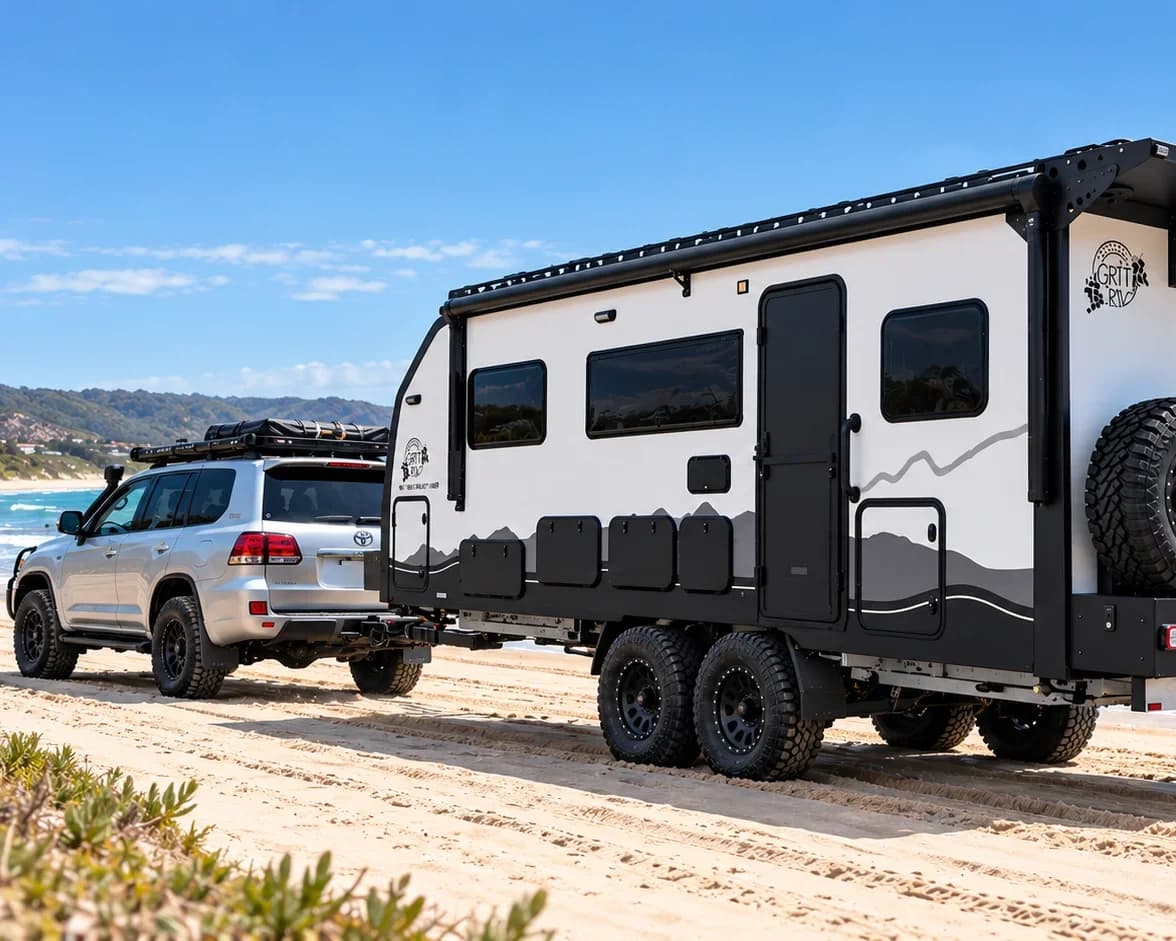
This becomes particularly important when passengers, luggage and caravan tow-ball load are added.
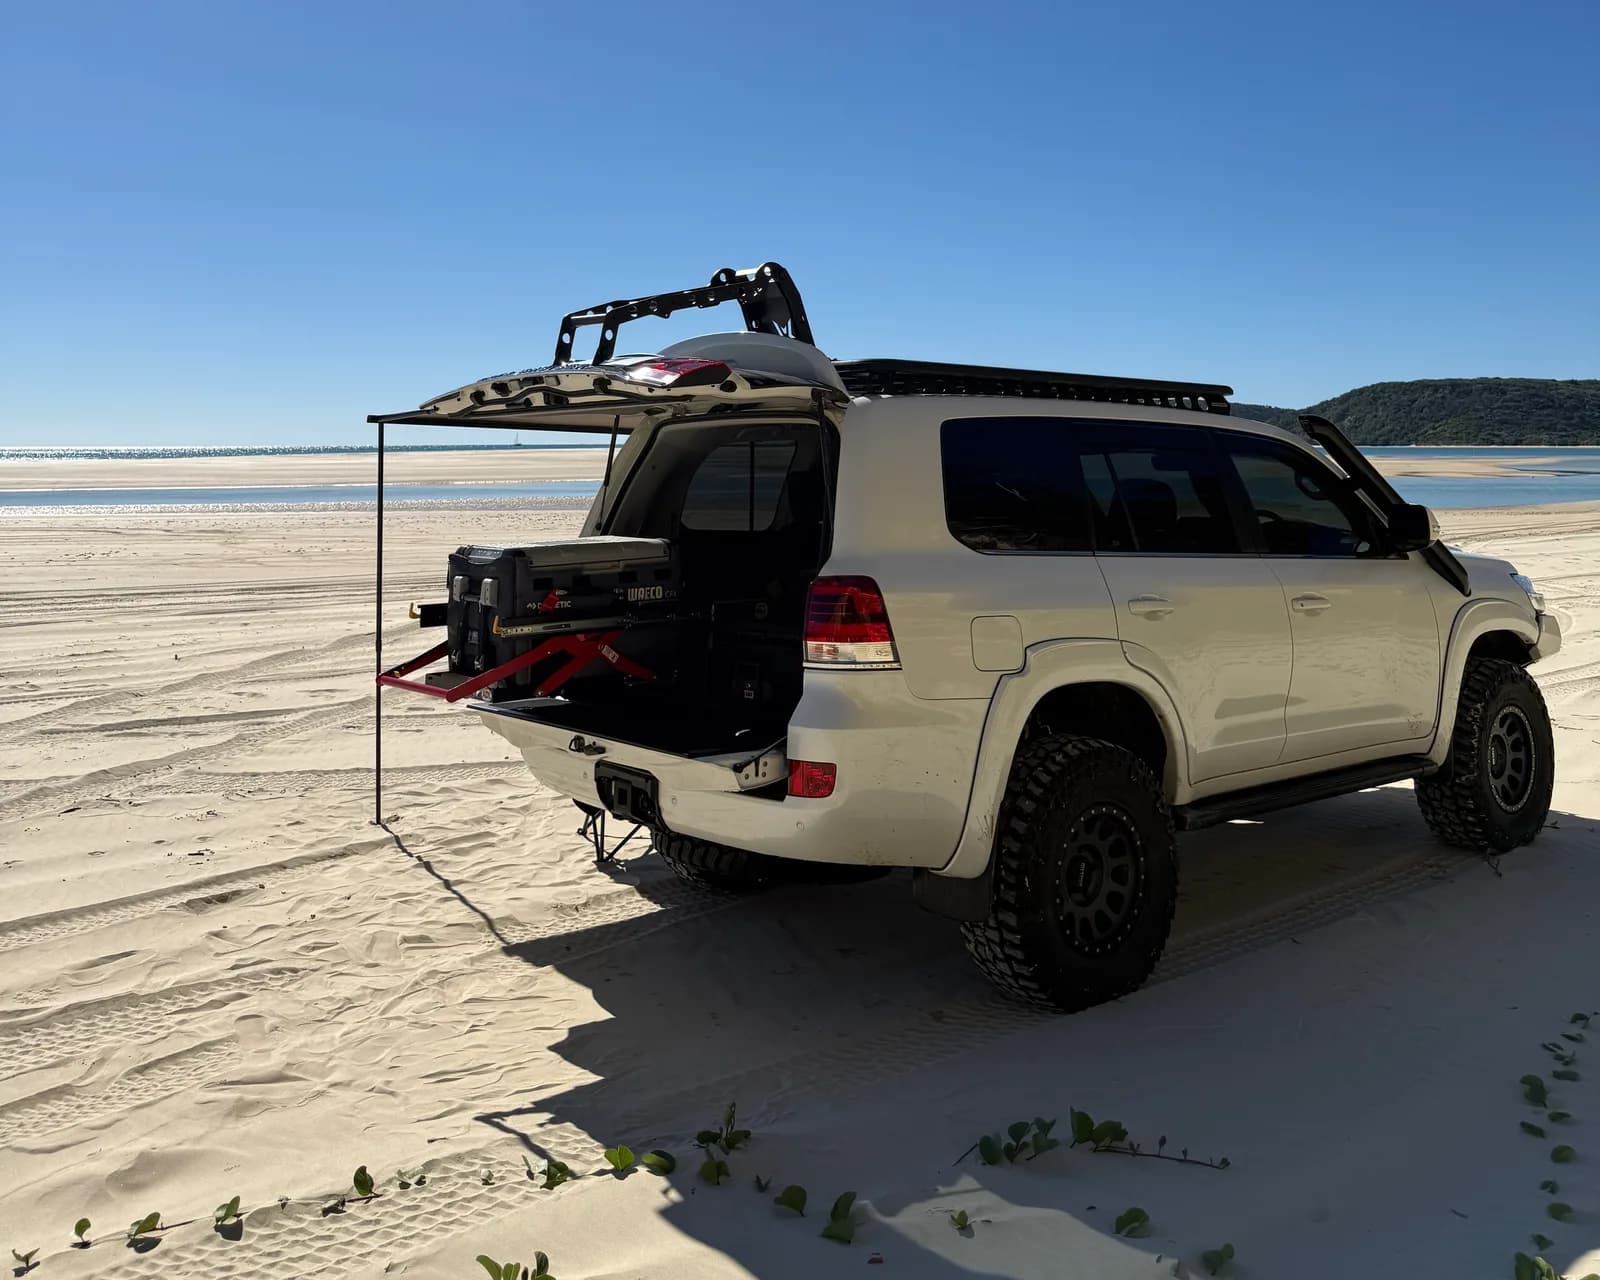 Related GuideGVM Upgrades
 Related GuideGVM vs GCM
Design for Towing if Towing Is Part of the Plan
If the 4x4 will tow a caravan or camper, the canopy fit-out needs to be considered as part of the complete tow vehicle.
Areas to think about include:
- rear axle load
- tow-ball load
- towbar and hitch access
- spare-wheel carrier position
- heavy equipment placement
- rear overhang
- electrical connections
- camera or monitoring equipment
A fit-out that works for solo touring may need a different layout when the vehicle is also carrying family gear and supporting a caravan.
Creature Comforts That Earn Their Space
Not every worthwhile inclusion is about off-road capability.
A convenient water tap, good lighting, charging points, a fridge at the right height, organised cooking gear and easy access to everyday items can make touring much more enjoyable.
For family and long-term touring, these smaller usability decisions can have a bigger day-to-day impact than some headline accessories.
Leave Room for Future Changes
Even a carefully planned fit-out may evolve as you travel more.
Useful future-proofing can include:
- spare electrical capacity
- accessible cable pathways
- modular storage
- serviceable battery compartments
- space for additional charging or communications equipment
- mounting points that can be repurposed
Future-proofing does not mean installing everything now. It means avoiding unnecessary barriers to sensible changes later.
Complete Fit-Out or Staged Fit-Out?
A complete fit-out can work well when the final touring setup is already clear and the electrical, water, storage and refrigeration systems need to be integrated from the beginning.
A staged fit-out can work well when you want to use the vehicle first and learn what equipment genuinely deserves a permanent place.
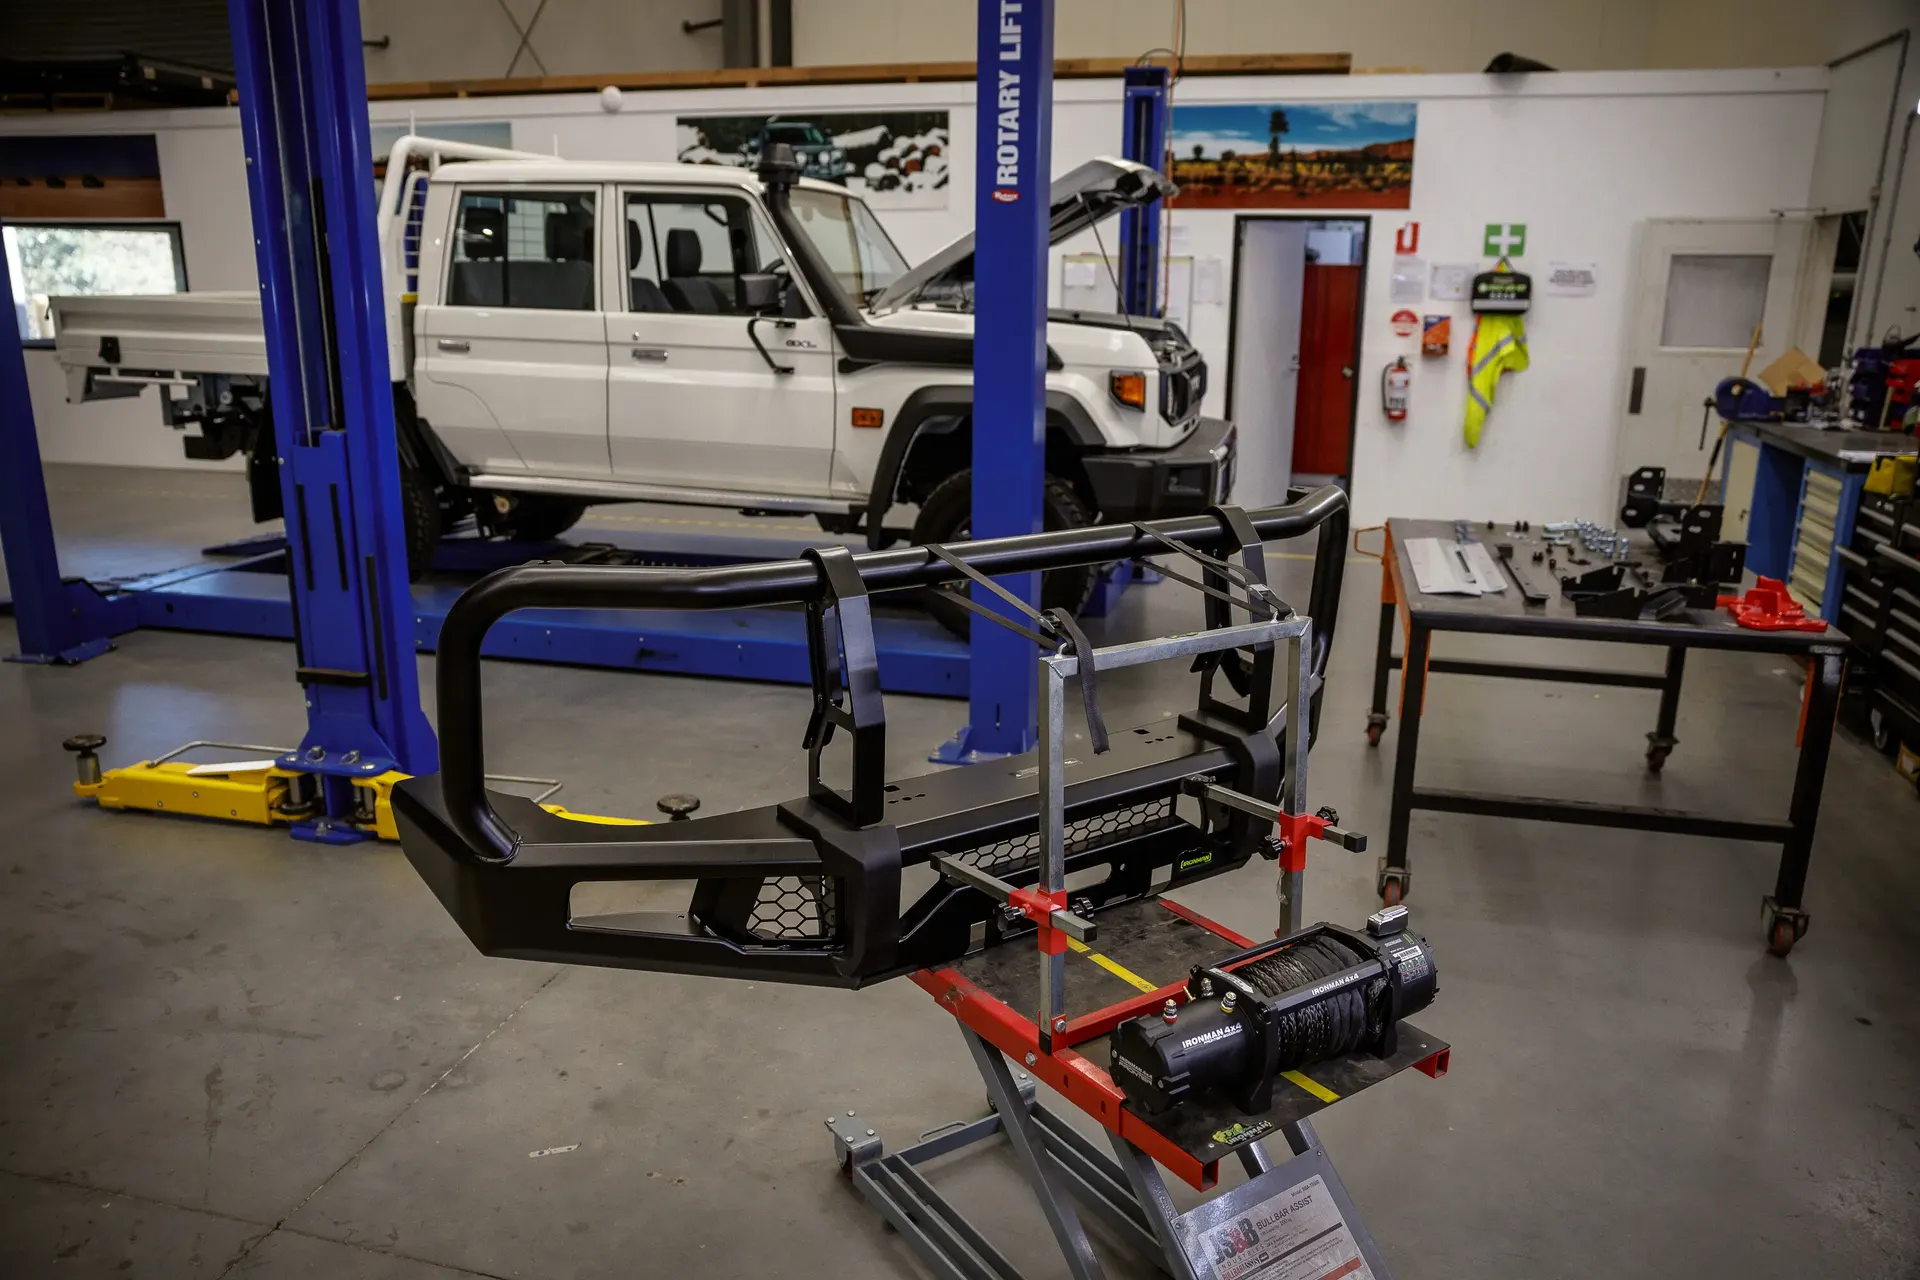
Either way, the long-term direction is worth considering before the builder locks in internal walls, drawers, wiring and plumbing.
 Related GuideComplete 4x4 Build vs Staged Build
Touring Canopy Planning Checklist
Tick it off as you plan
Questions to Ask the Canopy Builder
What is the estimated finished weight of the canopy and fit-out?
How will heavy items be positioned?
Can the layout be adjusted before manufacture?
How are batteries ventilated and accessed?
How are electrical cables protected and routed?
How will solar and external power enter the canopy?
How is the water tank mounted and serviced?
How is the canopy sealed against dust and weather?
Can drawers and shelves be changed later?
How are fridge ventilation and access handled?
What happens if I want to add equipment later?
What documentation will I receive for the completed build?
Key Takeaways
- Design the fit-out around how the vehicle will actually be used.
- Map the major equipment before the builder starts.
- Put frequently used items where they are easy to reach.
- Plan refrigeration, electrical, water and storage together.
- Do not fill every space simply because it is available.
- Consider weight distribution as well as total weight.
- Plan for towing if the vehicle will tow.
- Leave room for servicing and sensible future changes.
- Use supplier information and qualified specialists to validate the final setup.
Drewsy's 79: The Best Place to Show the Layout Working
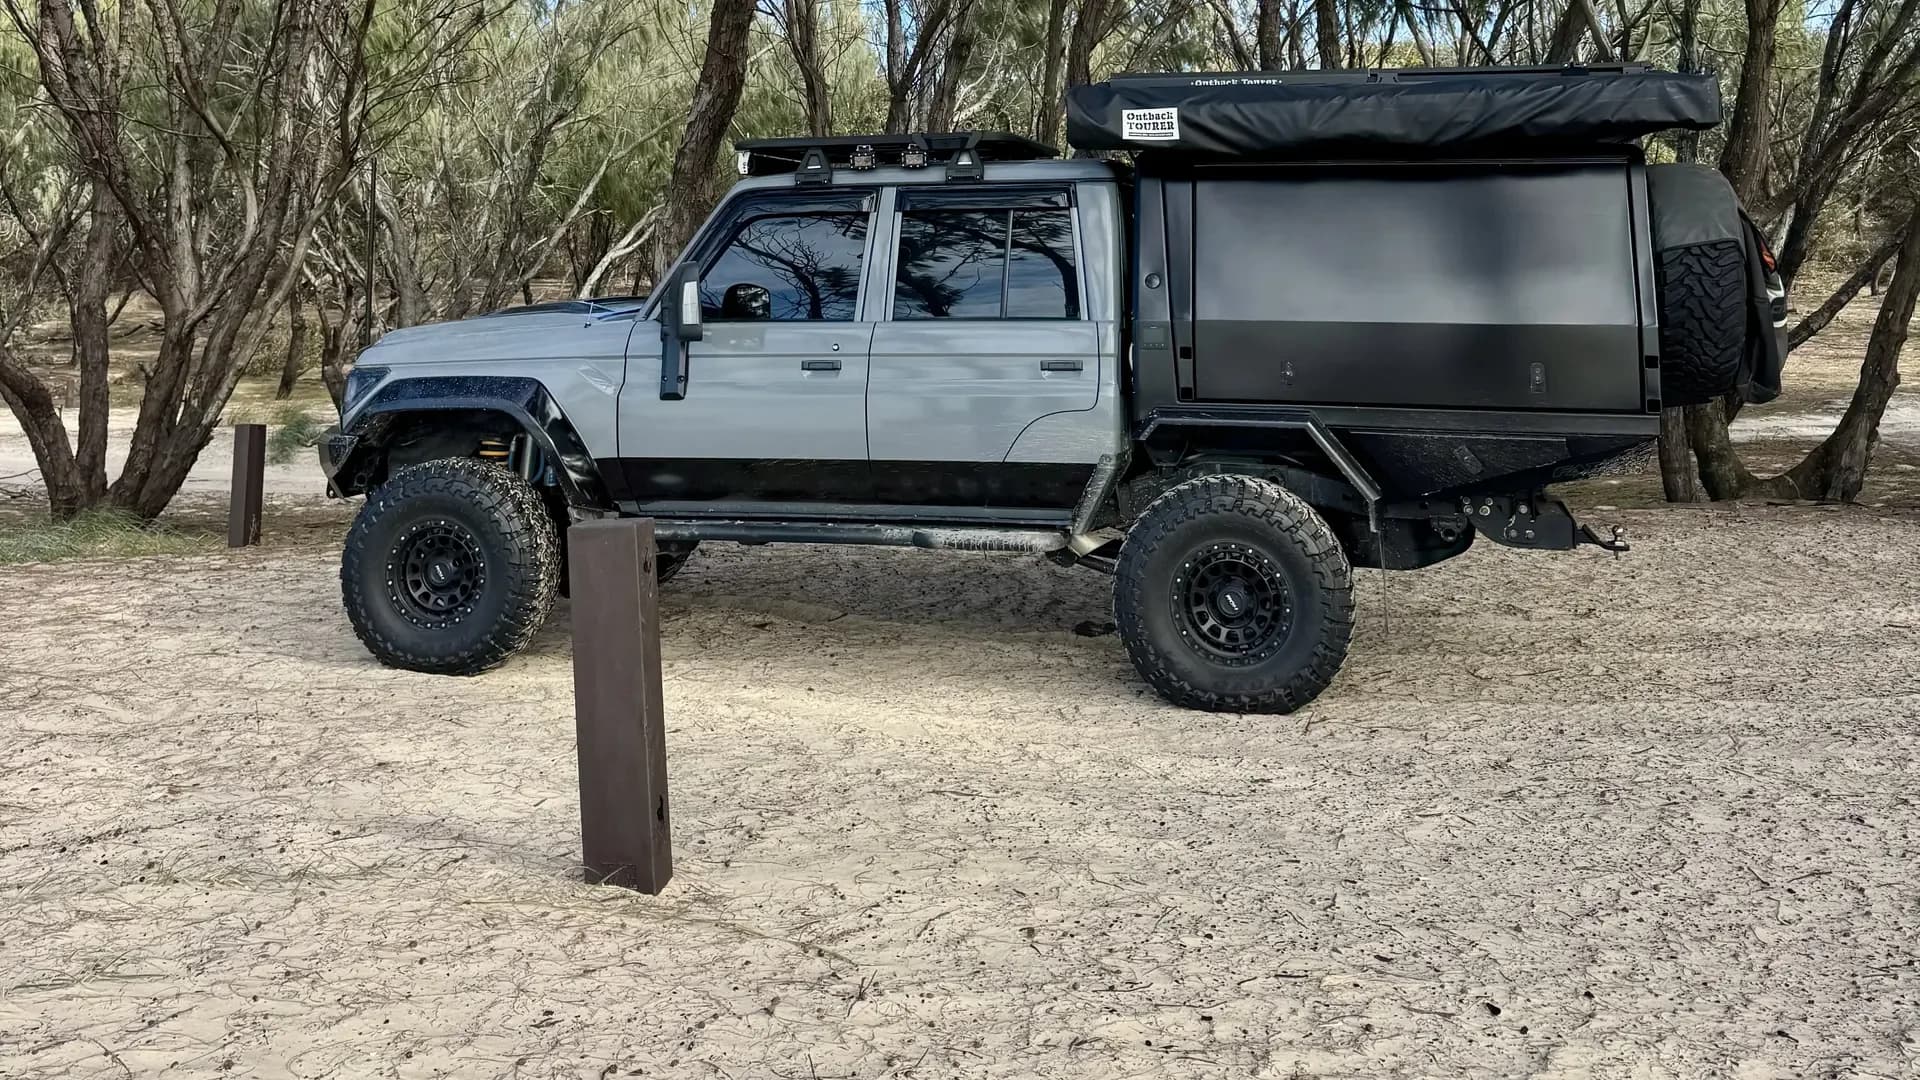
Drewsy's 79 gives Built for Adventure a real-world example of why canopy design is about workflow, not just storage volume.
The 79 content can show fridge access, electrical placement, storage zones, camp setup, what gets used every stop and what has changed after real trips.
That makes the canopy walkthrough more useful than a static supplier drawing because the audience can see how the setup behaves when it is actually packed and used.
Follow @drewsys79Common Questions
What belongs in a touring canopy?
It depends on how the vehicle is used. Common inclusions include refrigeration, batteries, charging, solar, water, storage, cooking gear, lighting, recovery equipment, tools and communications.
Where is the best place for the fridge?
The most practical location is one that provides easy access, suitable ventilation, secure mounting and a clear opening path without interfering with other equipment.
Where do the batteries go?
Battery placement depends on the canopy layout, battery type, ventilation, service access, cable routing and weight distribution. The electrical installer and canopy builder can help determine an appropriate location.
How much water belongs in a touring canopy?
It depends on the trip length, access to water, number of travellers and how the water will be used. Capacity also needs to be considered as part of the vehicle's loaded weight.
Do I need drawers everywhere?
No. Dedicated drawers can help organise smaller items, while open flexible storage can be useful for bulky or changing trip gear.
Can I add more electrical equipment later?
Yes. Planning accessible cable routes, spare capacity and serviceable component locations can make later changes easier.
Does the fit-out affect payload?
Yes. The canopy, batteries, water, fridge, drawers, tools, recovery gear and other equipment all form part of the vehicle's loaded weight.
Finance Your Adventure
If the canopy fit-out has moved from planning into a real purchase decision, Adventure Finance is the separate specialist finance pathway. Built for Adventure keeps this Guide focused on planning the setup itself. Questions about pre-approval, lender criteria, rates, terms or whether eligible tray, canopy and integrated fit-out costs can be financed belong with Adventure Finance.